So building this computer from scratch was super exciting for me because I had never seen the inside of a computer. Ok, maybe I did see it once but none of it really made sense to me. In fact I thought it was terrifying because I was afraid I was going to break something.
For someone who mostly consumes technology rather than produces it, I thought it was a great learning opportunity. Plus it was a Build-It-Yourself Computer birthday gift for Dan, my boyfriend. 🙂
If you have a Microcenter close to where you live, I highly recommend going there if you’re interested in making a computer. The tech support was really helpful in making decisions and they price match with all major retailers (such as Amazon and NewEgg). One opened up in Queens, NY, driving distance from my residence.
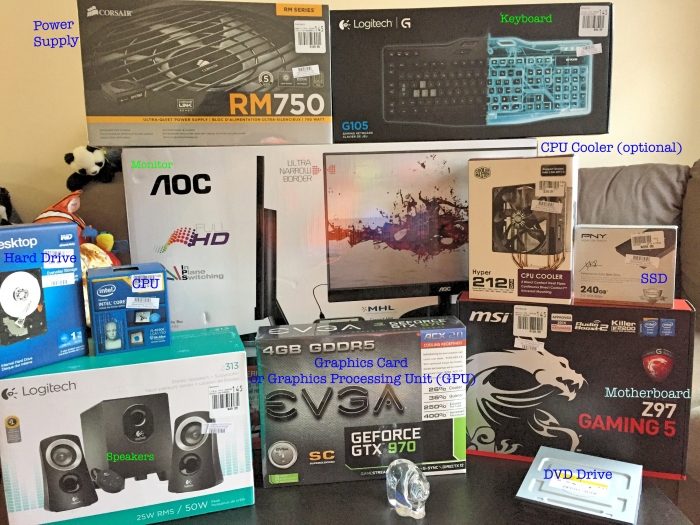
 As you see in this photo above, there are several boxes with labels. In the green text, you will see:
These are the things that you see outside of a computer. I remember when I was younger I thought that was the computer. But alas I was wrong.
The computer is really the stuff marked in blue text.
- CPU or the Computer Processing Unit. This is the ‘brains’ of the computer. In this case, it is the Intel i5. While it includes a fan to cool, we also bought a separate CPU Cooler.
- Motherboard. This is literally the body of the computer and where everything attaches to make things work. It’s the MSI Z97 Gaming 5 here.
- Graphics card or the Graphics Processing Unit (GPU). This determines how pretty and how fast the pictures are on the screen. It’s the EVGA Geforce GTX 970.
- Power Supply. You need something to power up the computer! It’s the Corsair RM 750 here.
- CD and DVD drive. Because a desktop computer should have at least one. It’s $15.
Now onto memory (because what’s a computer without a storage area like the human brain?):
- RAM or Memory. We initially forgot to buy it so it is not pictured here. This is the ‘short term’ memory for the computer to run everything once the computer is turned on.
- Solid State Drive (SSD). This is a fast access ‘long term’ memory. With no moving parts, the storage is written directly on the SSD and will less likely fail, also generating less heat and using less electricity. Many small portable laptops such as the MacBook Air uses a SSD. It’s recommended to put the Operating System (OS) such as Windows on here for faster boot up time. Here we’re using the PNY SSD 240 GB.
- Hard Disk Drive (HDD). This is a slower than SSD access ‘long term’ memory. It involves a spinning disk where information is magnetically written on and read by an arm in the drive. It takes time to spin up the drive and access the information. This is perfect for storing movies and pictures! And we got 1TB to spare (that’s 1024 GB!!).
One of the great things about building your own computer is that it is very easy to add more memory (SSD and HDD). So let’s say in a year I run out of 1 TB. Then it’ll only cost $80 for a 2TB HDD. That’s much cheaper than having to buy another computer all together.

In the above picture you will also see the computer case: the Fractal Define 5. It’s the latest case and it has sound dampening in the case. It is super important to keep the computer cool so some fans in the computer is recommended. This case will keep the computer running whisper quiet. Also I’m a fan of Finding Nemo so he’s on top. The panda is from San Diego Zoo and the Despicable Me Minion was a winning prize from the Las Vegas Circus Circus Hotel.
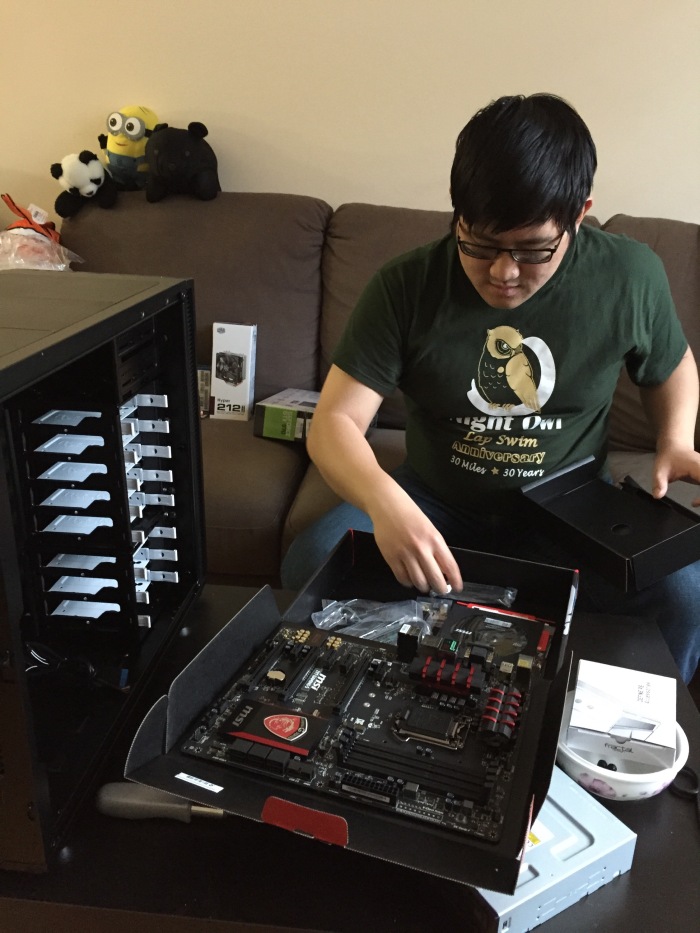
First things first. Prevent static shock otherwise you’ll fry the motherboard. We took off our socks and shoes and touched the metal inside of the case to ground ourselves before touching any parts. And grab a bowl to place the screws. And a screwdriver.
Notice the white slots on the side. That’s for the memory (SSD and HDD).
Take out the case and the motherboard.
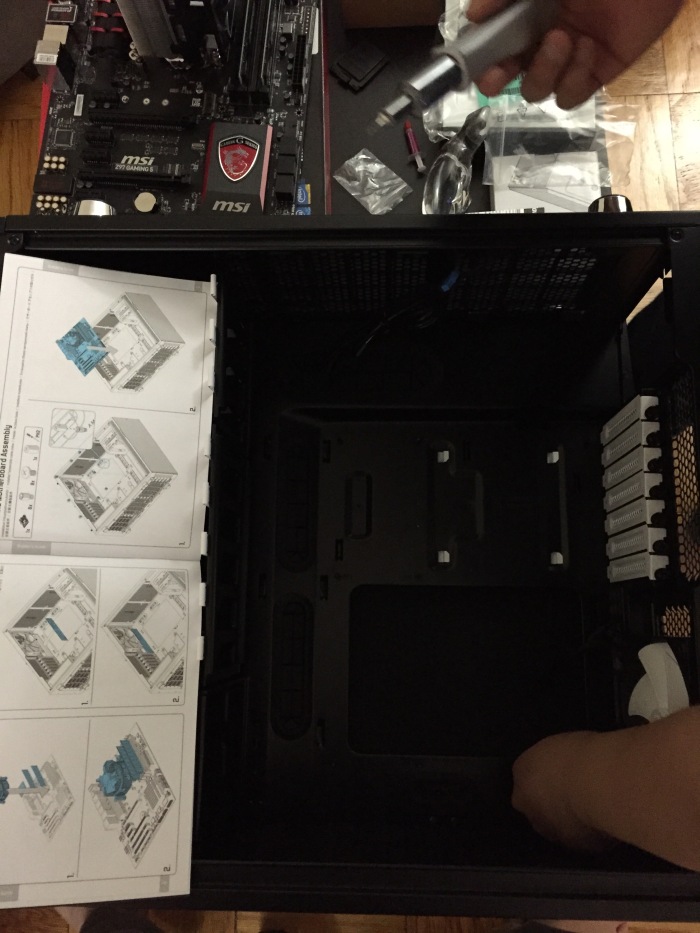
Take out the CPU and put it inside the hole.

Attach the included CPU cooler or the optional one bought separately.
Also attach the RAM memory (usually 2 places).
Now it’s time to place it (as in the motherboard, CPU, cooler and RAM stick combo) inside of the case.
Screw it in (8 to 9 little screws).
Place the power supply inside (the Corsair RM 750 shown here).
Attach the power supply cords to the motherboard. This particular one is called ‘modular’ meaning that you can pick and choose which cords you need. In some more simple power supply have a ‘non-modular’ cord, which means you’ll have additional cords that you probably won’t need. Having extra wires in a computer is not good for circulation since you want to have as much airflow through the computer as possible to keep it cool.
Screw on the SSD and HDD each separately onto a white slot. Connect it to the motherboard and power supply.
Connect the Graphics card inside.
Majority of the wires are threaded into the back. Tie up all the wires so it’s not a mess.
Close up the computer. Connect it to the monitor, keyboard, mouse and power. Turn it on for the first time. Congratulations!!
I have to thank Linus Tech Tips on YouTube. We watched his video during our installation process and it made it easy. So thanks!


